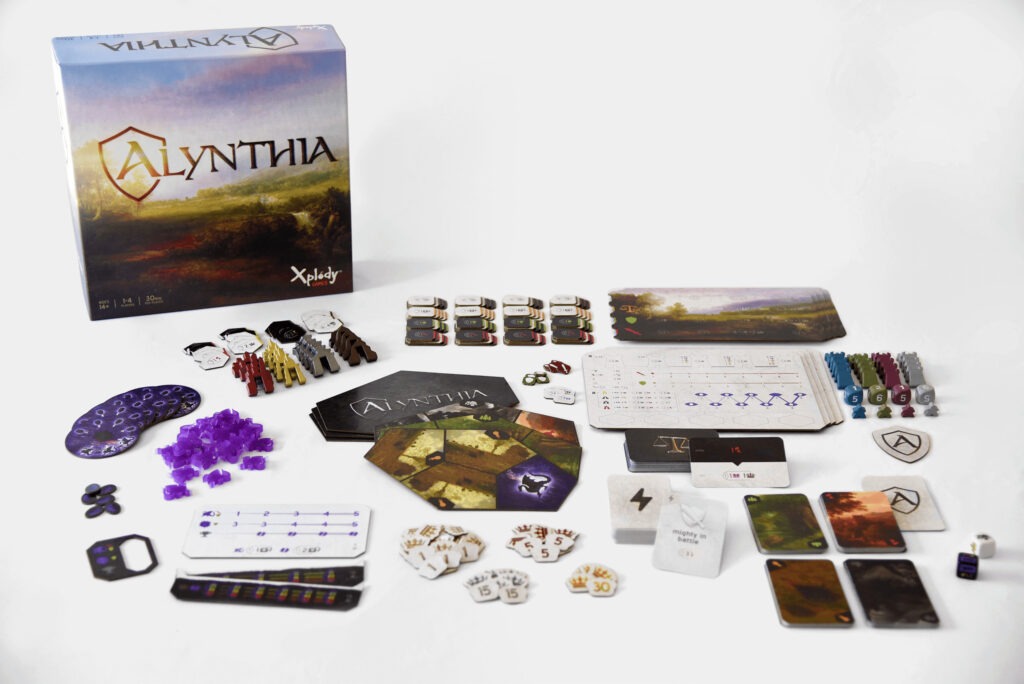
As a designer, holding a polished prototype of your game is an amazing thing. All that hard work, scraps of paper, and countless iterations have come together into something that looks like an actual GAME! But turning your game into a fancier prototype has its own set of challenges, and we wanted to share our experience in the hopes that you all can learn from our mistakes.
When to Order a Prototype
One of the important lessons we’ve learned is that making a polished prototype is a LOT of work, so you want to be careful to only take that leap when you’re ready. The rules should be (relatively) stable so you can maximize the lifetime of your prototype. Even though there are always new changes you’ll discover (usually right after you place the order), you want to make sure your prototype can be used for as long as possible.

If you’re an indie designer and on a limited budget like we are, it’s best to wait for a specific event or reason to get the prototype. For example, going to a convention, sending a copy to reviewers, or taking marketing photos are all great reasons for a prototype.
How to Make a Prototype
For the purpose of this post, we’ll assume that you have all of your visual design done to your satisfaction, at least for a prototype (our only recommendation is to work with a co-designer that is a great graphic designer, we lucked out in that regard). <-- Awww, thanks Travis! - Andrew (the co-designer)
 There are several on-demand board game printers, though we use The Game Crafter and have had a great experience with them. They have a great array of components to choose from, offer some pretty impressive custom components, and don’t take too long to print/ship. Make sure that you look through the available components before you finalize the design because there are size limitations that will impact your design. For example, we had to redesign our rulebook to fit the size available on The Game Crafter, and we made sure to double-check that all the components would fit in the box we ordered.

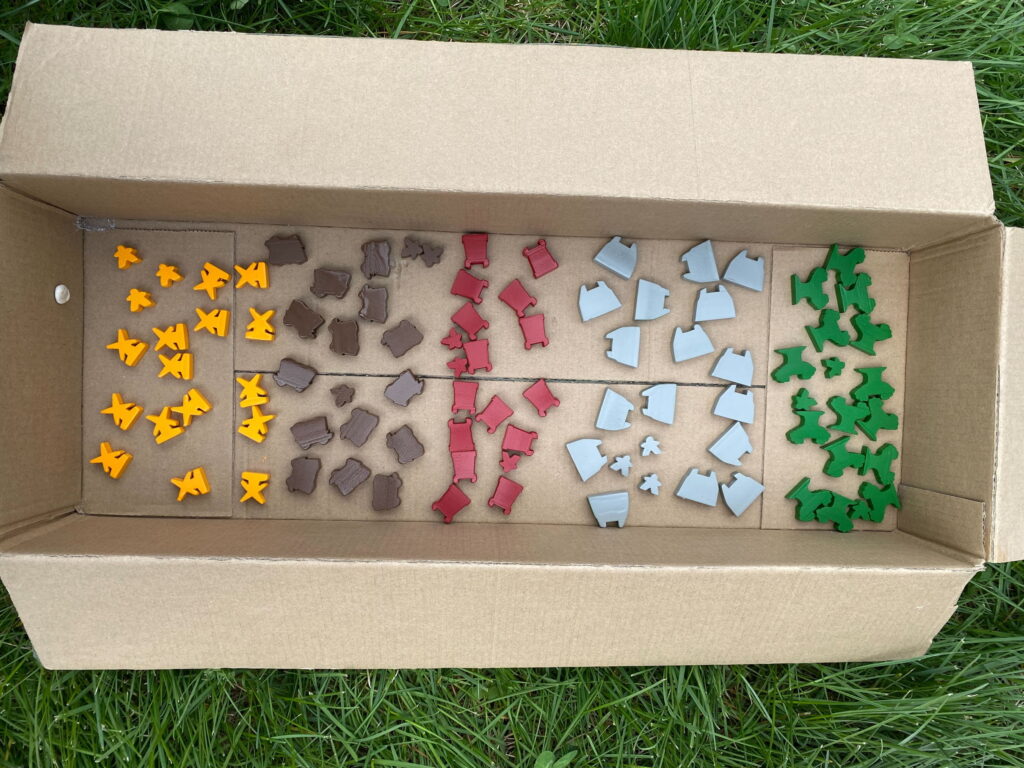
There are some components that you can’t order or that are too expensive to order in small quantities, so making them yourself can be a great option. Getting access to a 3D printer (and someone who knows how to create 3D designs for it) allows you to print custom pieces and iterate quickly on designs. We’ve also had great success using Montana spray paint on the components for different player colors. They even have downloadable color swatches that you can use in software like Illustrator to do color matching with your other components.
We’d love to connect
We’re still learning, but hopefully, our experience can help you on your design journey. Designing board games is a wonderful, scary, and challenging experience but it’s been so rewarding. The community of designers and board game enthusiasts has been so encouraging, thanks for being awesome! If you’re a designer, we’d love to hear from you! Just head over to our contact page and reach out!
